Photo cutout guide
Wondering what is the best way to remove background from a photo?
If you are asking what is the best way to remove background from a photo, begin with an automatic cutout and inspect the result before deciding whether it needs manual refinement. The best method depends less on the tool than on your subject, its edges, and how you plan to use the finished image.
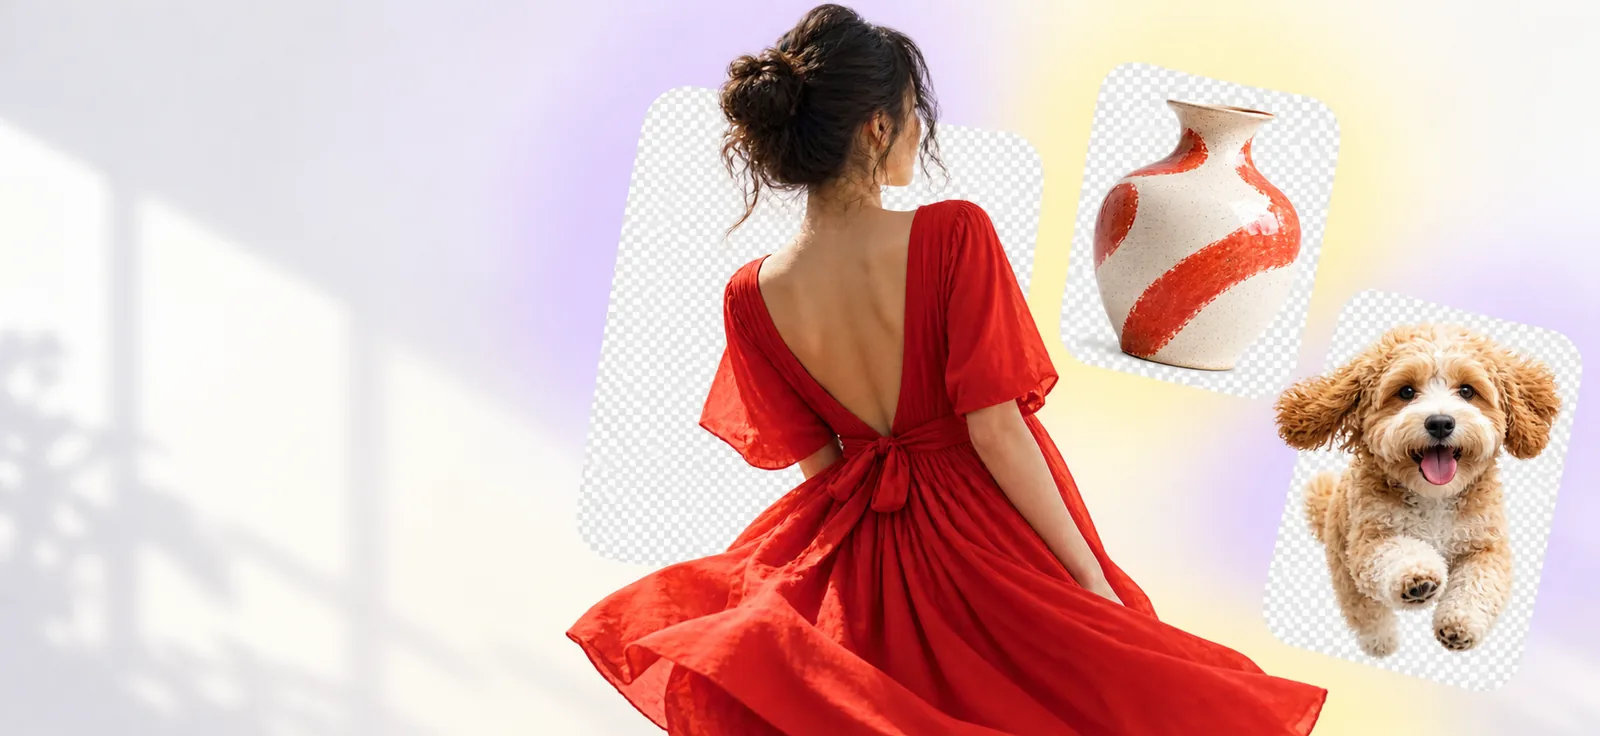
Match the method to the image
A clean boundary around a well-lit subject is easier to separate than hair, glass, or a subject that blends into its surroundings. These related guides cover specific starting points.
- remove background online See what to check when choosing a browser-based workflow for a single image.
- remove background from png image free online Understand how transparency and the original PNG affect the finished cutout.
- how to use remove background online Follow a practical sequence for preparing, checking, and saving an edited photo.
Three edges that need a closer look
Automatic selection can identify the main subject, but it cannot reliably infer every detail hidden by the original background.
Fine hair and fur
Strands may be partly transparent or nearly the same color as the background. A quick cutout can remove strands or leave a visible fringe.
What to do instead
Inspect at full size, refine the mask around the outline, and test it against both light and dark backgrounds.
Glass and sheer fabric
Transparent materials contain some of the original scene. Simply deleting that scene cannot reconstruct what should show through them.
What to do instead
Use careful masking and plan for manual retouching if realistic transparency matters.
Shadows and contact points
A removed backdrop may take away the natural shadow that made the subject appear grounded.
What to do instead
Keep a useful original shadow where possible, or add a restrained new one after placing the cutout.
A step-by-step cutout workflow
Use the same review process whether you make the initial selection automatically or draw it by hand.
-
1
Choose a suitable source
Start with the highest-quality photo available. Clear separation between subject and backdrop gives any selection method more information to work with; sharpening a blurry original will not restore missing edge detail.
-
2
Create and inspect the cutout
Remove background around the main subject, then zoom in rather than judging only the thumbnail. Check hair, small gaps, reflective surfaces, and any object edges that share colors with the old scene.
-
3
Refine for the destination
Correct missing areas and leftover background before placing the subject on its intended backdrop. Previewing on a contrasting color makes pale halos and dark fringes easier to spot; retain transparency if the next design needs it.
Where automatic and manual methods differ
An automatic pass is often the sensible first move. Manual masking earns its place when edge accuracy or a particular final composition requires closer control.
| Automatic cutout | Manual masking | |
|---|---|---|
| Best starting point | A distinct subject against a relatively simple backdrop | A complex outline or a precise creative selection |
| Initial effort | Usually fewer decisions before the first preview | Requires tracing or painting the selection deliberately |
| Hair and fur | Can leave fringes or lose individual strands | Allows local refinement but still needs a usable source |
| Transparent objects | May treat translucent areas as solid or absent | Offers control over partial opacity and retained detail |
| Repeatability | Convenient for similar, straightforward subjects | Useful when each image needs a different decision |
| Final quality check | Inspect the result on the intended new background | Inspect the mask and composite on the intended new background |
Make the cutout fit its destination
For a straightforward portrait or product photo, try an initial cutout and review the outline before using it in a design. If the image contains fine detail, allow time to refine the mask rather than assuming any first pass is final.
Start with the image you have
- Check the outline at full size
- Preview against the intended backdrop
- Keep the original photo for revisions
Frequently asked questions
For most clear, well-lit subjects, start with an automatic cutout and inspect it at full size. Refine the mask manually where hair, transparent materials, or low-contrast edges make the result look unnatural.
It is often a quicker way to reach a useful first draft, especially when the subject stands apart from the backdrop. Hand selection provides more control where the boundary is ambiguous, so the strongest workflow may combine both.
Pixels along an edge can retain color from the original backdrop, creating a halo when you place the subject elsewhere. Preview the cutout on the intended background and refine or decontaminate the affected edge.
Sometimes, but the shadow may be partly blended with the surface beneath it. Inspect whether it still looks natural in the new composition; otherwise, rebuild a subtle shadow separately rather than keeping a visible patch of the old scene.