Online sellers
A product photo needs to sit cleanly on a catalog, campaign, or marketplace layout.
A separated product is easier to place, resize, and reuse across visual variations.
Image editing
Remove background online when you need a cleaner subject without opening a complicated editor. Send your image to the visual workspace and continue refining the result there.
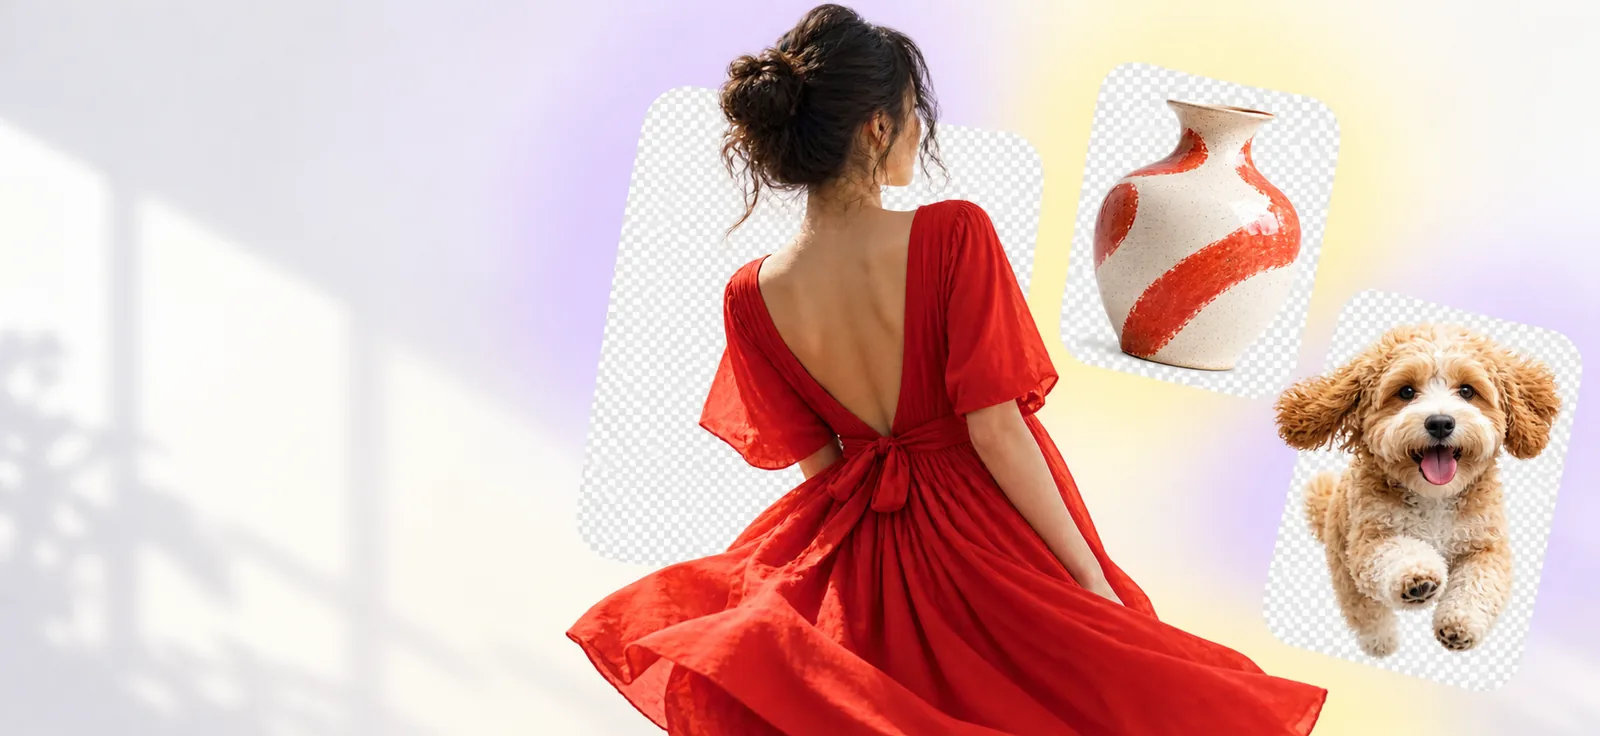
Keep the task focused: choose the source image, describe the intended result, and use the connected visual workspace for the next edit.
A browser-based workflow is convenient, but the source image still determines how clean and useful the result can be.
Hair, fur, thin wires, translucent fabric, and soft shadows can blend into nearby pixels.
What to do instead
Use a larger, sharper source with stronger separation between the subject and its surroundings.
Crowded scenes with similar colors or overlapping objects make the intended boundary less obvious.
What to do instead
Crop closer to the main subject or choose an image with clearer visual contrast.
Removing a background is different from detailed color grading, compositing, or pixel-level repair.
What to do instead
Continue in the connected workspace when the image needs broader creative changes.
A small, compressed, or blurry upload gives the workflow less reliable detail to interpret.
What to do instead
Start with the highest-quality original available and inspect the edges before publishing.
The online process stays short so you can move from an existing image to a usable visual direction without learning a large toolset first.
Begin with the photo, product shot, portrait, or graphic that needs a cleaner surrounding area.
Describe the desired isolation or replacement in plain language so the next edit has clear context.
Inspect the subject boundary, then carry the result into the visual workspace for any follow-up changes.
The route is organized around the parts that matter most: a source, a focused instruction, and a result you can keep developing.
Both approaches can support clean image work, but they suit different moments in the process.
| Online workflow | Desktop editor | |
|---|---|---|
| Setup | Open the route and begin with the image | Install or open a dedicated editing application |
| Learning curve | Focused instructions keep the first pass simple | More controls require more time to learn |
| Fine control | Best for a focused first result and follow-up direction | Strong for detailed manual masking and retouching |
| Best starting point | Product shots, portraits, posts, and quick concepts | Complex composites and pixel-level finishing |
| Context switching | Keeps the initial task in one connected flow | May require moving between files, panels, and tools |
| Quality responsibility | Still depends on a clear, high-quality source | Also depends on the operator's masking and export choices |
Different images benefit from isolation for different reasons. Choose the closest use case, then shape the next edit around the finished visual.
A product photo needs to sit cleanly on a catalog, campaign, or marketplace layout.
A separated product is easier to place, resize, and reuse across visual variations.
A portrait or object needs to stand apart from a busy scene in a post or thumbnail.
The subject gets clearer emphasis without rebuilding the entire composition.
A source image is useful, but its original surroundings do not match the new layout.
The isolated subject becomes a more flexible starting point for a branded visual.
Several related images need a consistent direction before further editing.
A repeatable first pass makes it easier to spot which files need manual attention.


The strongest results begin with a clear subject and a usable source image.
OriginalIsolatedBring your image into a focused workflow, describe the result you want, and keep developing the composition in the connected visual workspace.
It means using a web-connected image workflow rather than relying only on a locally installed editor. You provide an image, describe the desired isolation, and review the resulting direction in the connected workspace.
Not every image will produce the same quality of result. Clear subjects, strong contrast, and larger original files generally give the workflow better visual information than blurry or crowded images.
Yes, product photos are a common use case when the object is clearly separated from its surroundings. Inspect fine edges and shadows before using the cutout in a catalog, campaign, or other final layout.
Try a sharper source image with better contrast, or crop closer to the subject before repeating the first pass. For complex hair, transparency, or overlapping objects, continue with more detailed editing in the connected workspace.