Image workflow
Remove background multiple images online free with a repeatable workflow
Remove background multiple images online free when you have a group of product shots, portraits, or graphics to prepare. Use a consistent sequence so every image gets the same attention before you move on.
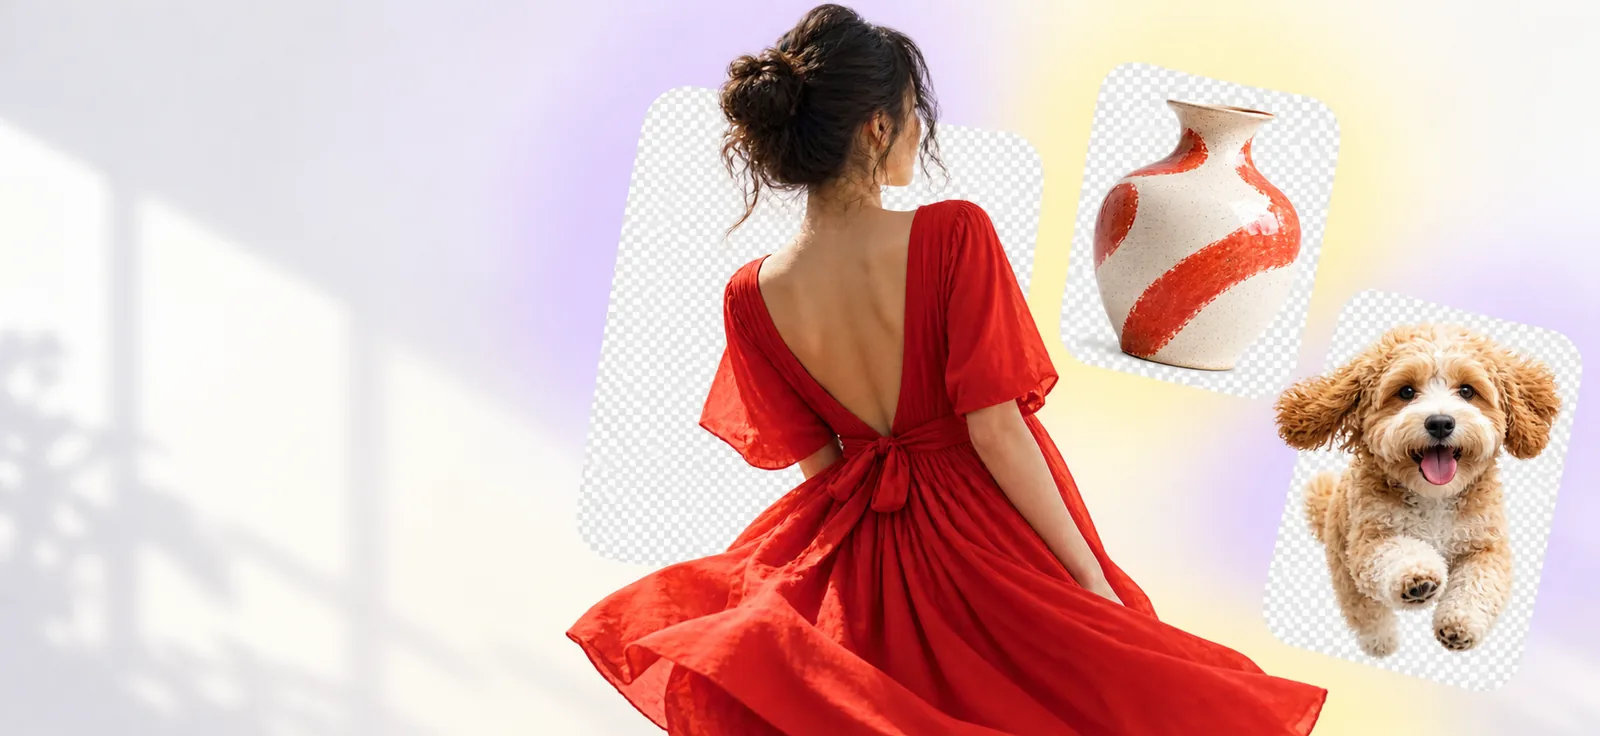
A clearer workflow for multiple images
The surrounding guides cover different parts of the same image-preparation task, from online access to PNG handling and practical usage.
- remove background online Use this guide when you want to understand the online workflow before preparing a group of files.
- remove background from png image free online This page focuses on PNG input and the details to check when transparency matters.
- how to use remove background online Follow a straightforward walkthrough for moving from an uploaded image to a reviewed result.
Three ways to keep a group consistent
A multiple-image job is easier to review when selection, instructions, and quality checks follow the same pattern for every file.
-
1
Group similar images
Collect images with comparable subjects, framing, and lighting so the background decision is easier to repeat.
-
2
Use one clear instruction
Describe the desired result once, including what should remain visible and what should be removed from the scene.
-
3
Review every result
Check hair, thin objects, shadows, and outer edges before saving or placing the transparent images elsewhere.
Limits and edges to plan for
Removing a background can simplify a set of images, but it does not remove the need for careful selection and review.
Similar files work best
A mixed folder can contain different subjects, backgrounds, and framing, which makes one instruction less precise.
What to do instead
Separate the files into smaller groups with similar visual conditions.
Fine edges need inspection
Hair, fur, transparent objects, wires, and soft shadows can be difficult to separate cleanly from their surroundings.
What to do instead
Zoom in on delicate edges and keep the original files until the result is approved.
Batch intent is not a quality guarantee
Describing several images together does not mean every output will need the same correction or review time.
What to do instead
Treat the workflow as a repeatable starting point, then check each image individually.
The final use still matters
A cutout that looks correct on white may need another check on a dark layout, colored background, or printed design.
What to do instead
Preview representative results in the background where they will actually appear.
Single-image pass or multiple-image workflow
These two approaches solve different parts of the job. The second organizes repeated work, while the first keeps attention on one detailed result.
| Single-image pass | Multiple-image workflow | |
|---|---|---|
| Best suited to | One important image or an unusual subject | A group with related subjects or a shared purpose |
| Selection | Choose and inspect one file | Collect and group similar files first |
| Instructions | Tailor the direction to one image | Start with a shared instruction, then adjust when needed |
| Quality review | Focus deeply on one result | Review each result against the same checklist |
| Edge cases | Resolve unusual edges as they appear | Set aside files needing special attention |
| Organization | Save or place the finished file immediately | Keep source, reviewed, and finished files clearly separated |
| Consistency | Depends on repeating the process manually | Makes repeated choices easier to compare |
From original image to transparent subject
A before-and-after comparison is useful, but the finished result should still be checked at the edges and in its intended layout.


Inspect edges before final use.
OriginalBackground removedWhen several images need the same treatment, start with a clear group, use a consistent instruction, and review the results before publishing or sharing them. The workflow is designed to make repeated background work easier to organize without hiding the places where human judgment still matters.
Prepare your next image set
- Group similar source files
- Keep originals for comparison
- Review delicate edges
Frequently asked questions
Start by collecting the images you want to work on and grouping files with similar subjects or backgrounds. Then describe the desired result clearly, review each output, and confirm the final images fit the way you plan to use them.
A shared instruction can be a useful starting point when the images have similar framing and backgrounds. Check the results individually because fine edges, shadows, and unusual objects may require different attention.
Inspect the outline around hair, fur, thin objects, and soft shadows. Also preview representative results against the background where they will appear, since small edge problems may be more visible there.
No workflow is equally suitable for every image. Files with complex edges, transparent subjects, cluttered backgrounds, or very different compositions may be better handled as separate cases with extra review.